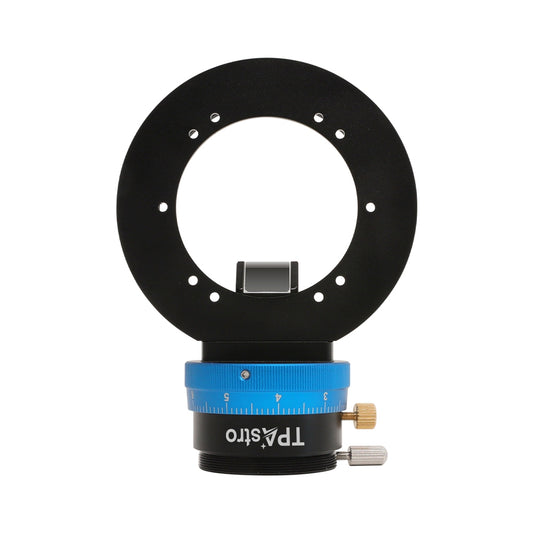


Designed specifically for the entire SkyEye series (SkyEye62AM/AC and SkyEye24AC) cameras, this adjustment ring features intuitive installation guidance, a wider adjustment range, and more robust materials.

Product Features
Professional Compatibility: Designed for SkyEye62AM/AC and SkyEye24AC, providing a comfortable installation experience.
Precise Adjustment: Four-point hole design for CMOS alignment, ensuring high-precision adjustment for astrophotography.
Stable and Reliable: Made from high-quality aluminum alloy, precision-machined for durability and long-term stability.
Easy Adjustment: Equipped with a central "0" scale and intuitive guide lines for effortless installation and adjustment.

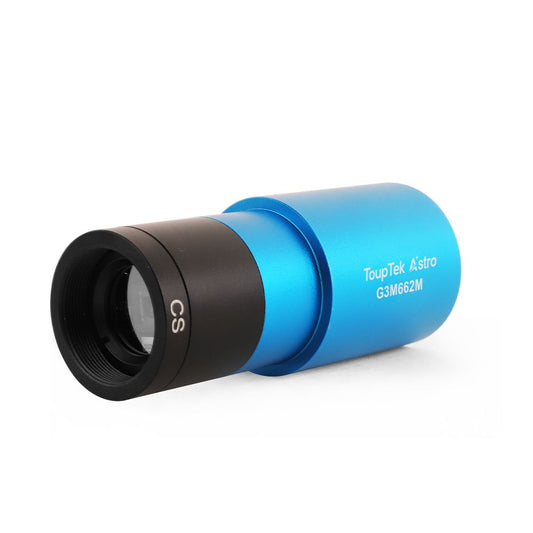
Solution 1: SkyEye62AM/AC DSO Cooled Camera Standard Back Focal Length Connection Solution

Solution 2: SkyEye24AC DSO Cooled Camera Standard Back Focal Length Connection Solution
Product Dimensions Diagram
Basic Specifications
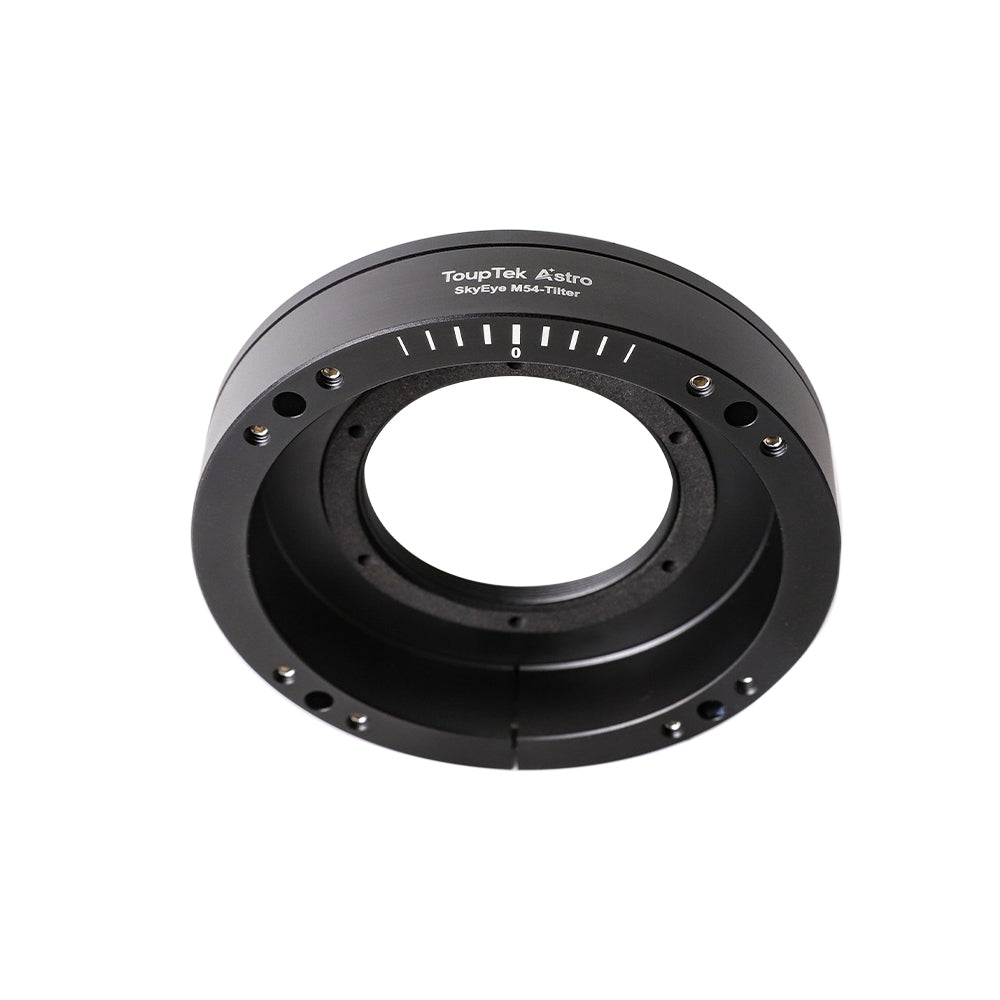
Flange: M54 flange ring
Thread: M54×0.75
Effective Thickness: 4.5mm


Installation Steps
Standard Back-Focus Installation Steps for SkyEye62AM/AC DSO Cooled Full-Frame Camera.

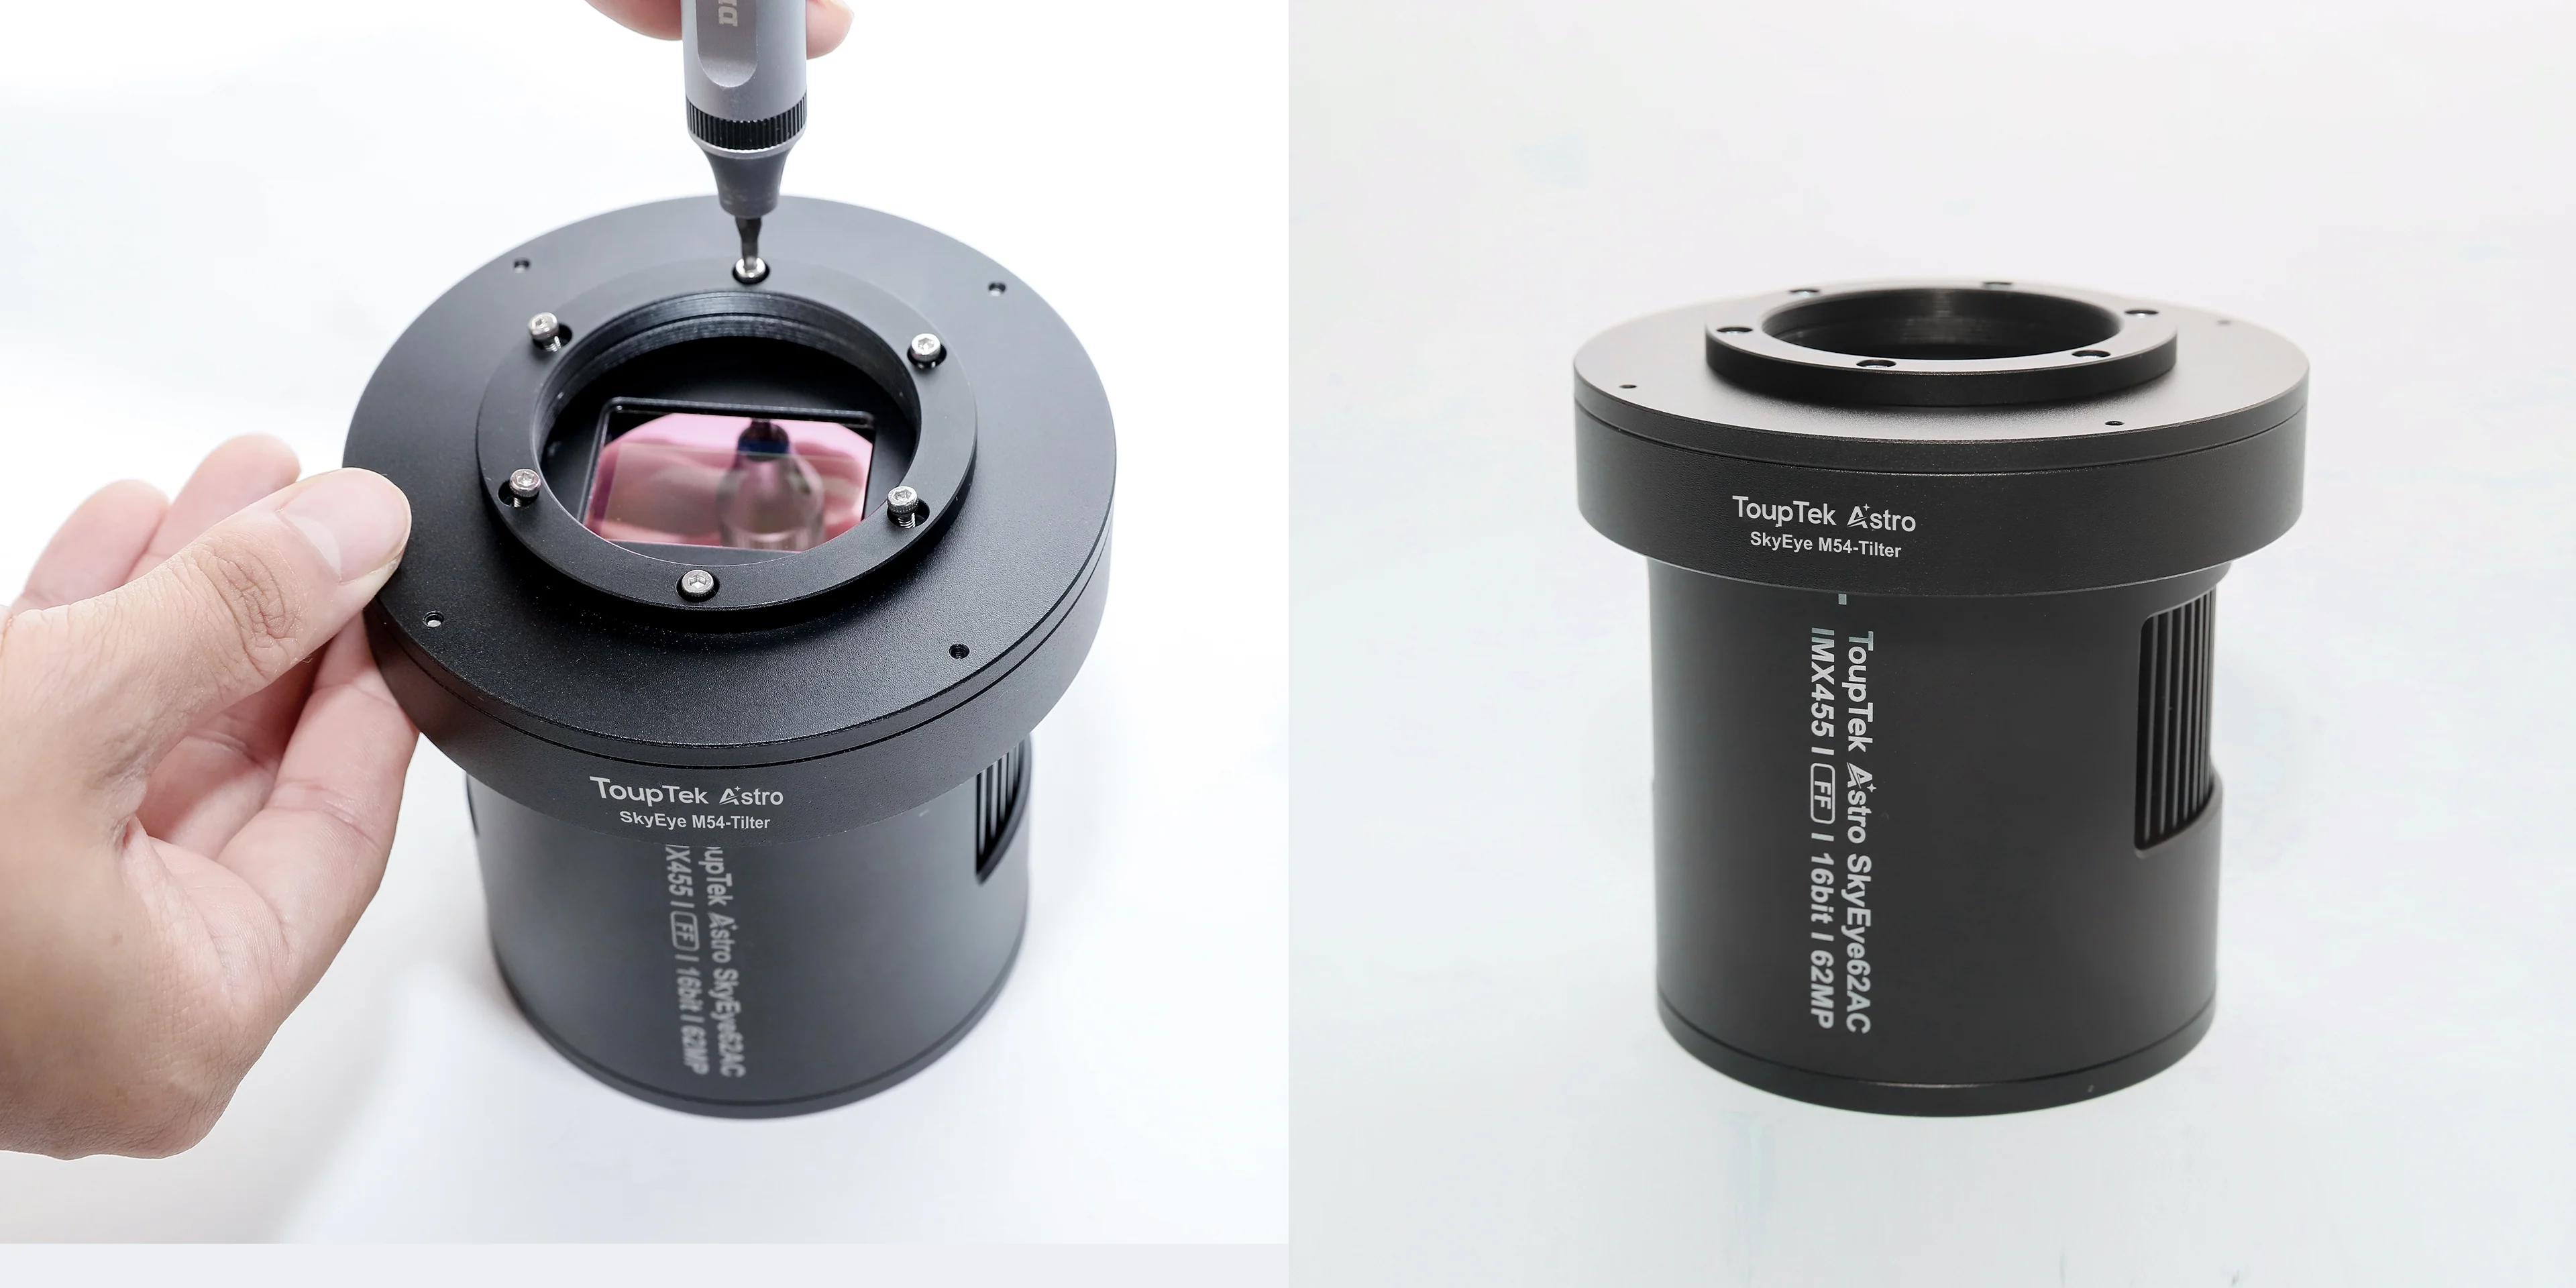
1. Inspect the M54-Tilter, SkyEye62AM/AC camera body, and screw holes.

2. Remove the 5mm back-focal adapter from the SkyEye62AM/AC camera and slightly adjust the tightness of the M54-Tilter screws to facilitate assembly with the camera.

3. Assemble the M54-Tilter and the SkyEye62AM/AC camera. Align the M54-Tilter with the camera body, ensuring the central "0" scale and camera guide lines match. Tighten the screws to secure the components.

4. Reinstall the SkyEye62AM/AC camera's 5mm back-focal adapter, completing the assembly of the M54-Tilter and the camera, ensuring everything is securely attached.

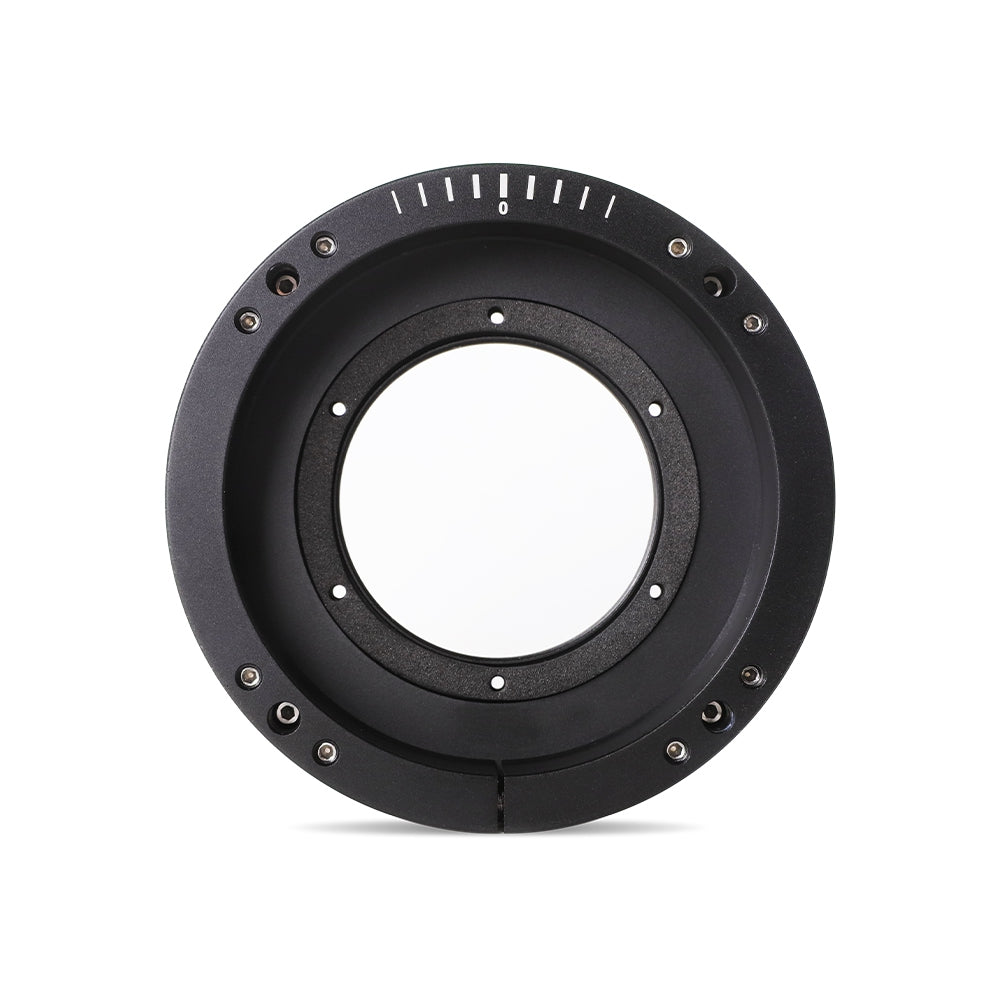
Standard Back-Focus Installation Steps for SkyEye24AC DSO Cooled Full-Frame Camera.
1.Inspect the M54-Tilter, SkyEye24AC camera and screw holes.

2.Remove the front ring from the SkyEye24AC camera and slightly adjust the tightness of the M54-Tilter screws to facilitate assembly with the camera.
3.Assemble the M54-Tilter and the SkyEye24AC camera. Align the M54-Tilter with the camera, ensuring the central "0" scale and camera guide lines match. Tighten the screws to secure the components, completing the assembly of the M54-Tilter and camera, ensuring everything is securely attached.
Hot Recommendations
-
GS PAPO Guide Scope
Regular price From $149.00 USDRegular priceUnit price per -
LRGB Filters
Regular price From $129.00 USDRegular priceUnit price per$129.00 USDSale price From $129.00 USD -
SHO Narrowband Filters
Regular price From $179.00 USDRegular priceUnit price per$179.00 USDSale price From $179.00 USD -
Large Off-Axis Guider
Regular price From $179.00 USDRegular priceUnit price per$179.00 USDSale price From $179.00 USD