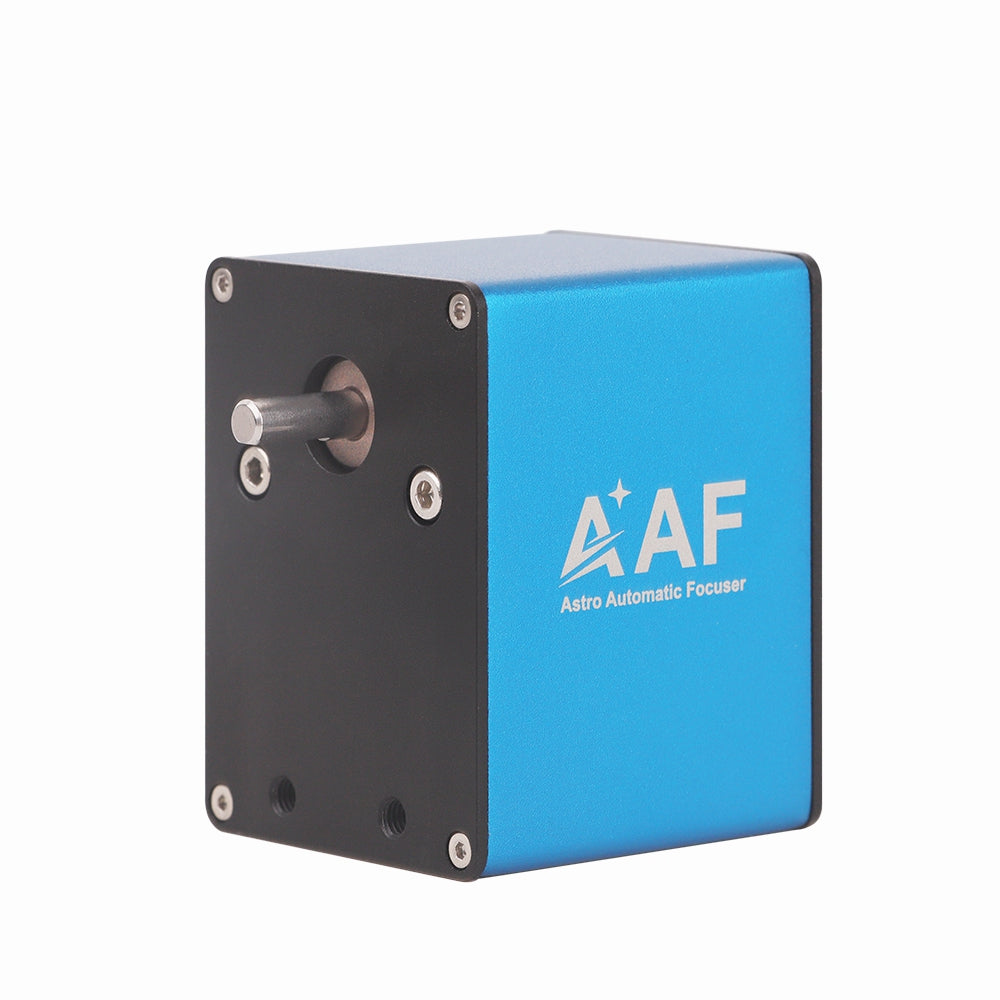
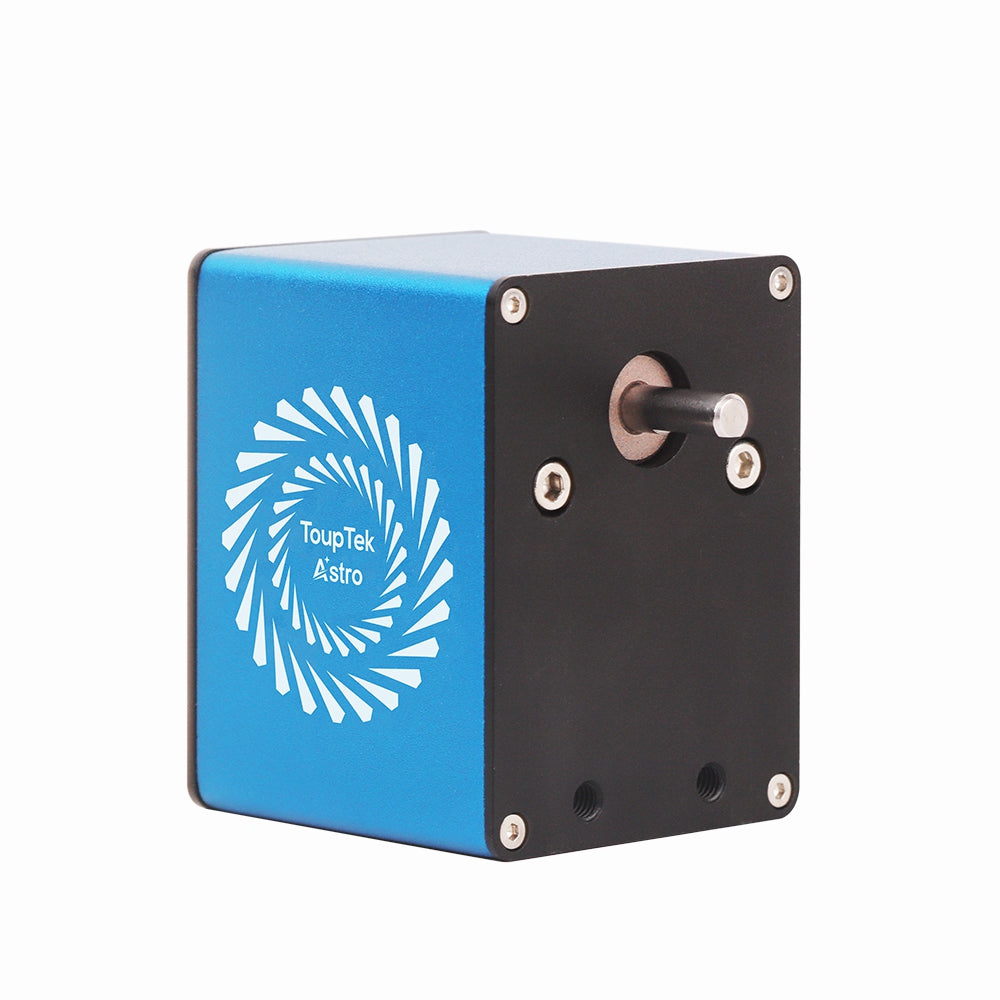
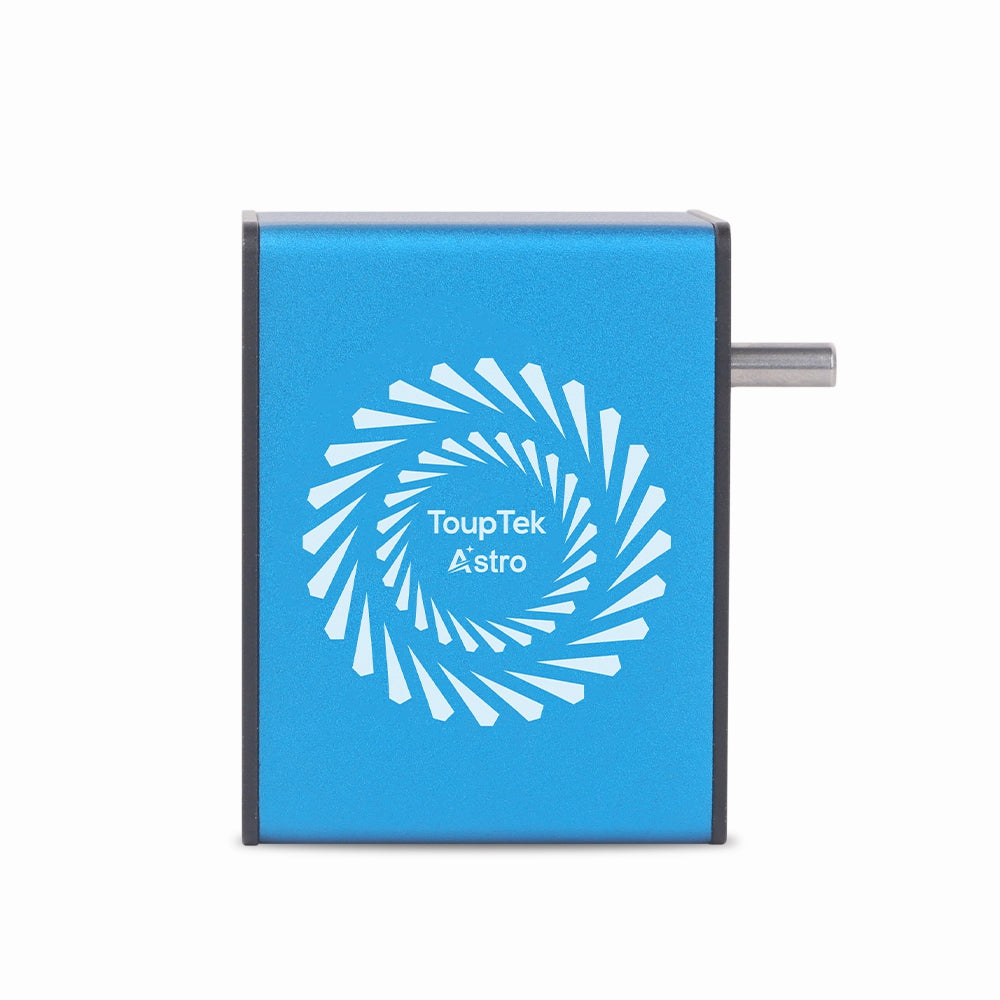
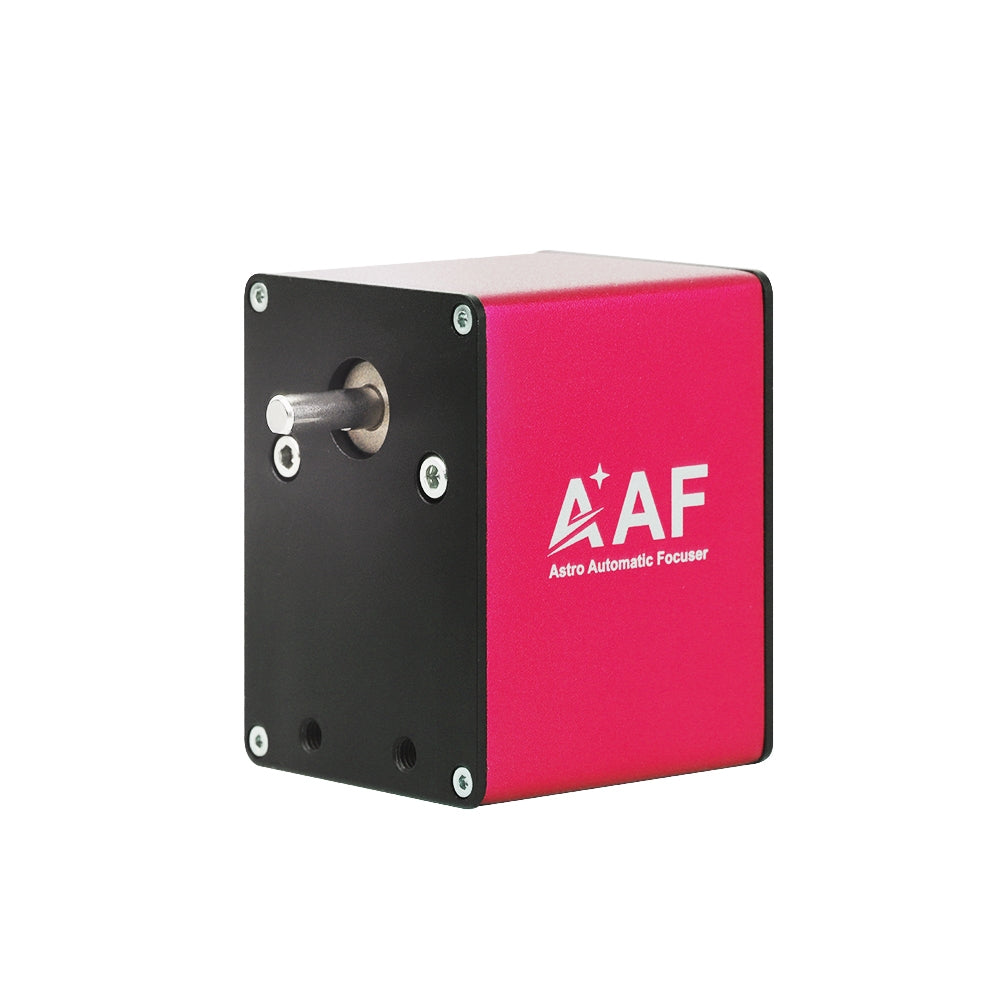
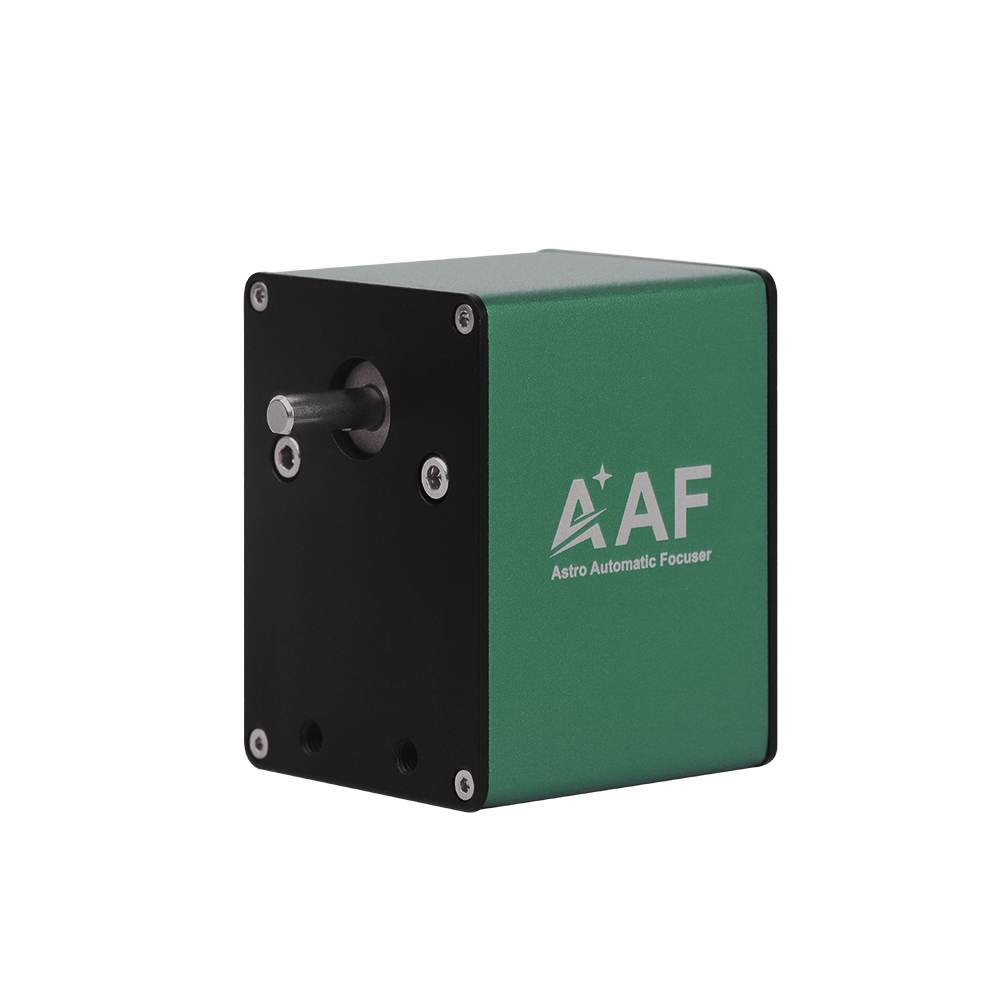

The astronomical electric focuser is one of the essential accessories for astrophotography and observation. It precisely adjusts the position of the telescope's focuser with automated operation, ensuring accuracy and efficiency in astrophotography and observation. The ToupTek Astro AAF ( Astro Automatic Focuser ) is plug-and-play, significantly enhancing the efficiency and precision of astrophotography and observation. It supports the focusing needs of most telescopes on the market and adapts to various environmental conditions.

AAF Features
Integrated Design:Plug-and-Play,Stable Hardware and Software Performance
Wide Applicability:Compatible with ASCOM Drivers ,Supports a Wide Range of Third-Party Software
Multi-Platform Availability:Equipped with Comprehensive INDI Drivers Automatic Control:Precise Control and Worry-Free Focusing with Automated Control through Software
Manual Control:Manual focusing using the included hand controller T
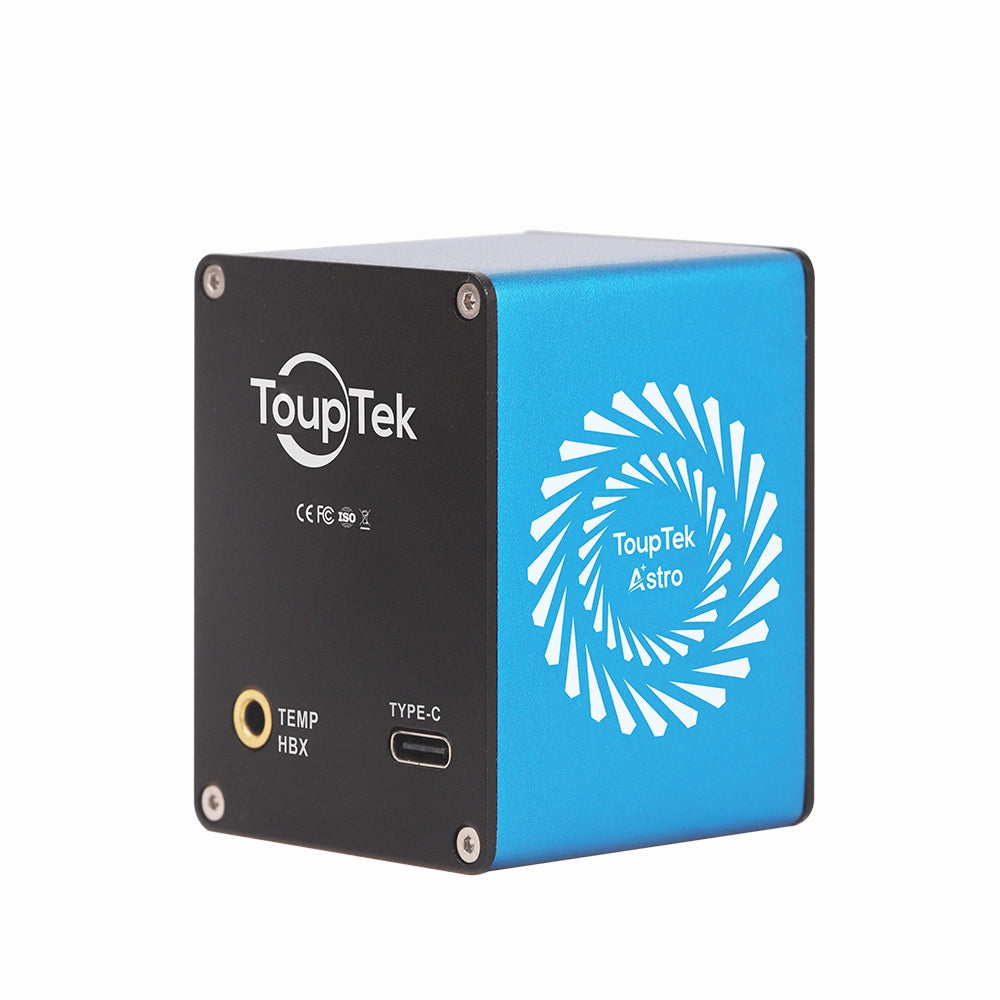
emperature Adaptability:Onboard temperature sensor,working with the software to adjust focusing based on environmental temperature changes


Technical Specifications
Housing Material:Aluminum Alloy
Size:45mm×60mm×47mm
Motor Specifications:35mm Stepper Motor
Torque:1.2N/M
Effective Load Capacity:5KG
Data Interface:Type-C ( 5V USB )


Connection Diagram

Installation Instructions for Telescope
(Illustrated by ToupAstro HOPE D60)

1. Click the packing list, and assemble the special-shaped connecting plate (horizontal installation) or the rectangular connecting plate (vertical installation) using M3 screws.

2. Remove the focusing knob from the telescope.

3. Select and install the appropriately sized flexible coupler. Use M4 screws to mount the AAF body onto the flexible coupler.

4. Install the special-shaped connecting plate (horizontal installation) or the rectangular connecting plate (vertical installation) on the focusing mount. Secure it to the AAF device using M4 screws, and check if it is stable.

5. According to specific usage requirements, connect the USB data cable / temperature sensing cable / handle.
Installation Instructions for Guide Scope
(Illustrated by ToupAstro GS-200 AR)

1. Click the packing list, and assemble the special-shaped connecting plate (horizontal installation) or the rectangular connecting plate (vertical installation) using M3 screws.

2. Remove the focusing knobs on both sides.

3. Select the small flexible coupler and install it on the guide scope.

4. Install the special-shaped connecting plate (horizontal installation) or the rectangular connecting plate (vertical installation) on the focusing mount. Secure it to the AAF device using M4 screws, and check if it is stable.

5. According to specific usage requirements, connect the USB data cable / temperature sensing cable / handle.
Hot Recommendations
-
GS PAPO Guide Scope
Regular price From $149.00 USDRegular priceUnit price per -
LRGB Filters
Regular price From $129.00 USDRegular priceUnit price per -
SHO Narrowband Filters
Regular price From $179.00 USDRegular priceUnit price per -
Large Off-Axis Guider
Regular price From $179.00 USDRegular priceUnit price per