


AAF
Backfokus und Neigungseinstellung
AAF ist auf Lager und wird versandt, sobald es wieder verfügbar ist
Kompatibilität / Anforderungen
Kompatibilität / Anforderungen
Lieferung und Versand
Lieferung und Versand
Versandoptionen und an der Kasse berechnete Lieferdetails werden vor der Zahlung angezeigt.
Garantie und Support
Garantie und Support
Für Hilfe bei der Einrichtung, Software-Downloads und Garantieservice kontaktieren Sie den ToupTek Astro Support mit Ihren Bestellinformationen.
Bewertungen
Bewertungen
Zahlung & Sicherheit
Zahlung & Sicherheit
Wir gewährleisten eine sichere Verarbeitung Ihrer Zahlungsinformationen und speichern Ihre Kreditkartendaten nicht und haben auch keinen Zugriff darauf.

AAF ist auf Lager und wird versandt, sobald es wieder verfügbar ist

Designed specifically for the entire SkyEye series (SkyEye62AM/AC and SkyEye24AC) cameras, this adjustment ring features intuitive installation guidance, a wider adjustment range, and more robust materials.

Product Features
Professional Compatibility: Designed for SkyEye62AM/AC and SkyEye24AC, providing a comfortable installation experience.
Precise Adjustment: Four-point hole design for CMOS alignment, ensuring high-precision adjustment for astrophotography.
Stable and Reliable: Made from high-quality aluminum alloy, precision-machined for durability and long-term stability.
Easy Adjustment: Equipped with a central "0" scale and intuitive guide lines for effortless installation and adjustment.

Solution 1: SkyEye62AM/AC DSO Cooled Camera Standard Back Focal Length Connection Solution

Solution 2: SkyEye24AC DSO Cooled Camera Standard Back Focal Length Connection Solution
Product Dimensions Diagram
Basic Specifications
Flange: M54 flange ring
Thread: M54×0.75
Effective Thickness: 4.5mm


Installation Steps
Standard Back-Focus Installation Steps for SkyEye62AM/AC DSO Cooled Full-Frame Camera.

1. Inspect the M54-Tilter, SkyEye62AM/AC camera body, and screw holes.

2. Remove the 5mm back-focal adapter from the SkyEye62AM/AC camera and slightly adjust the tightness of the M54-Tilter screws to facilitate assembly with the camera.

3. Assemble the M54-Tilter and the SkyEye62AM/AC camera. Align the M54-Tilter with the camera body, ensuring the central "0" scale and camera guide lines match. Tighten the screws to secure the components.

4. Reinstall the SkyEye62AM/AC camera's 5mm back-focal adapter, completing the assembly of the M54-Tilter and the camera, ensuring everything is securely attached.

Standard Back-Focus Installation Steps for SkyEye24AC DSO Cooled Full-Frame Camera.
1.Inspect the M54-Tilter, SkyEye24AC camera and screw holes.

2.Remove the front ring from the SkyEye24AC camera and slightly adjust the tightness of the M54-Tilter screws to facilitate assembly with the camera.
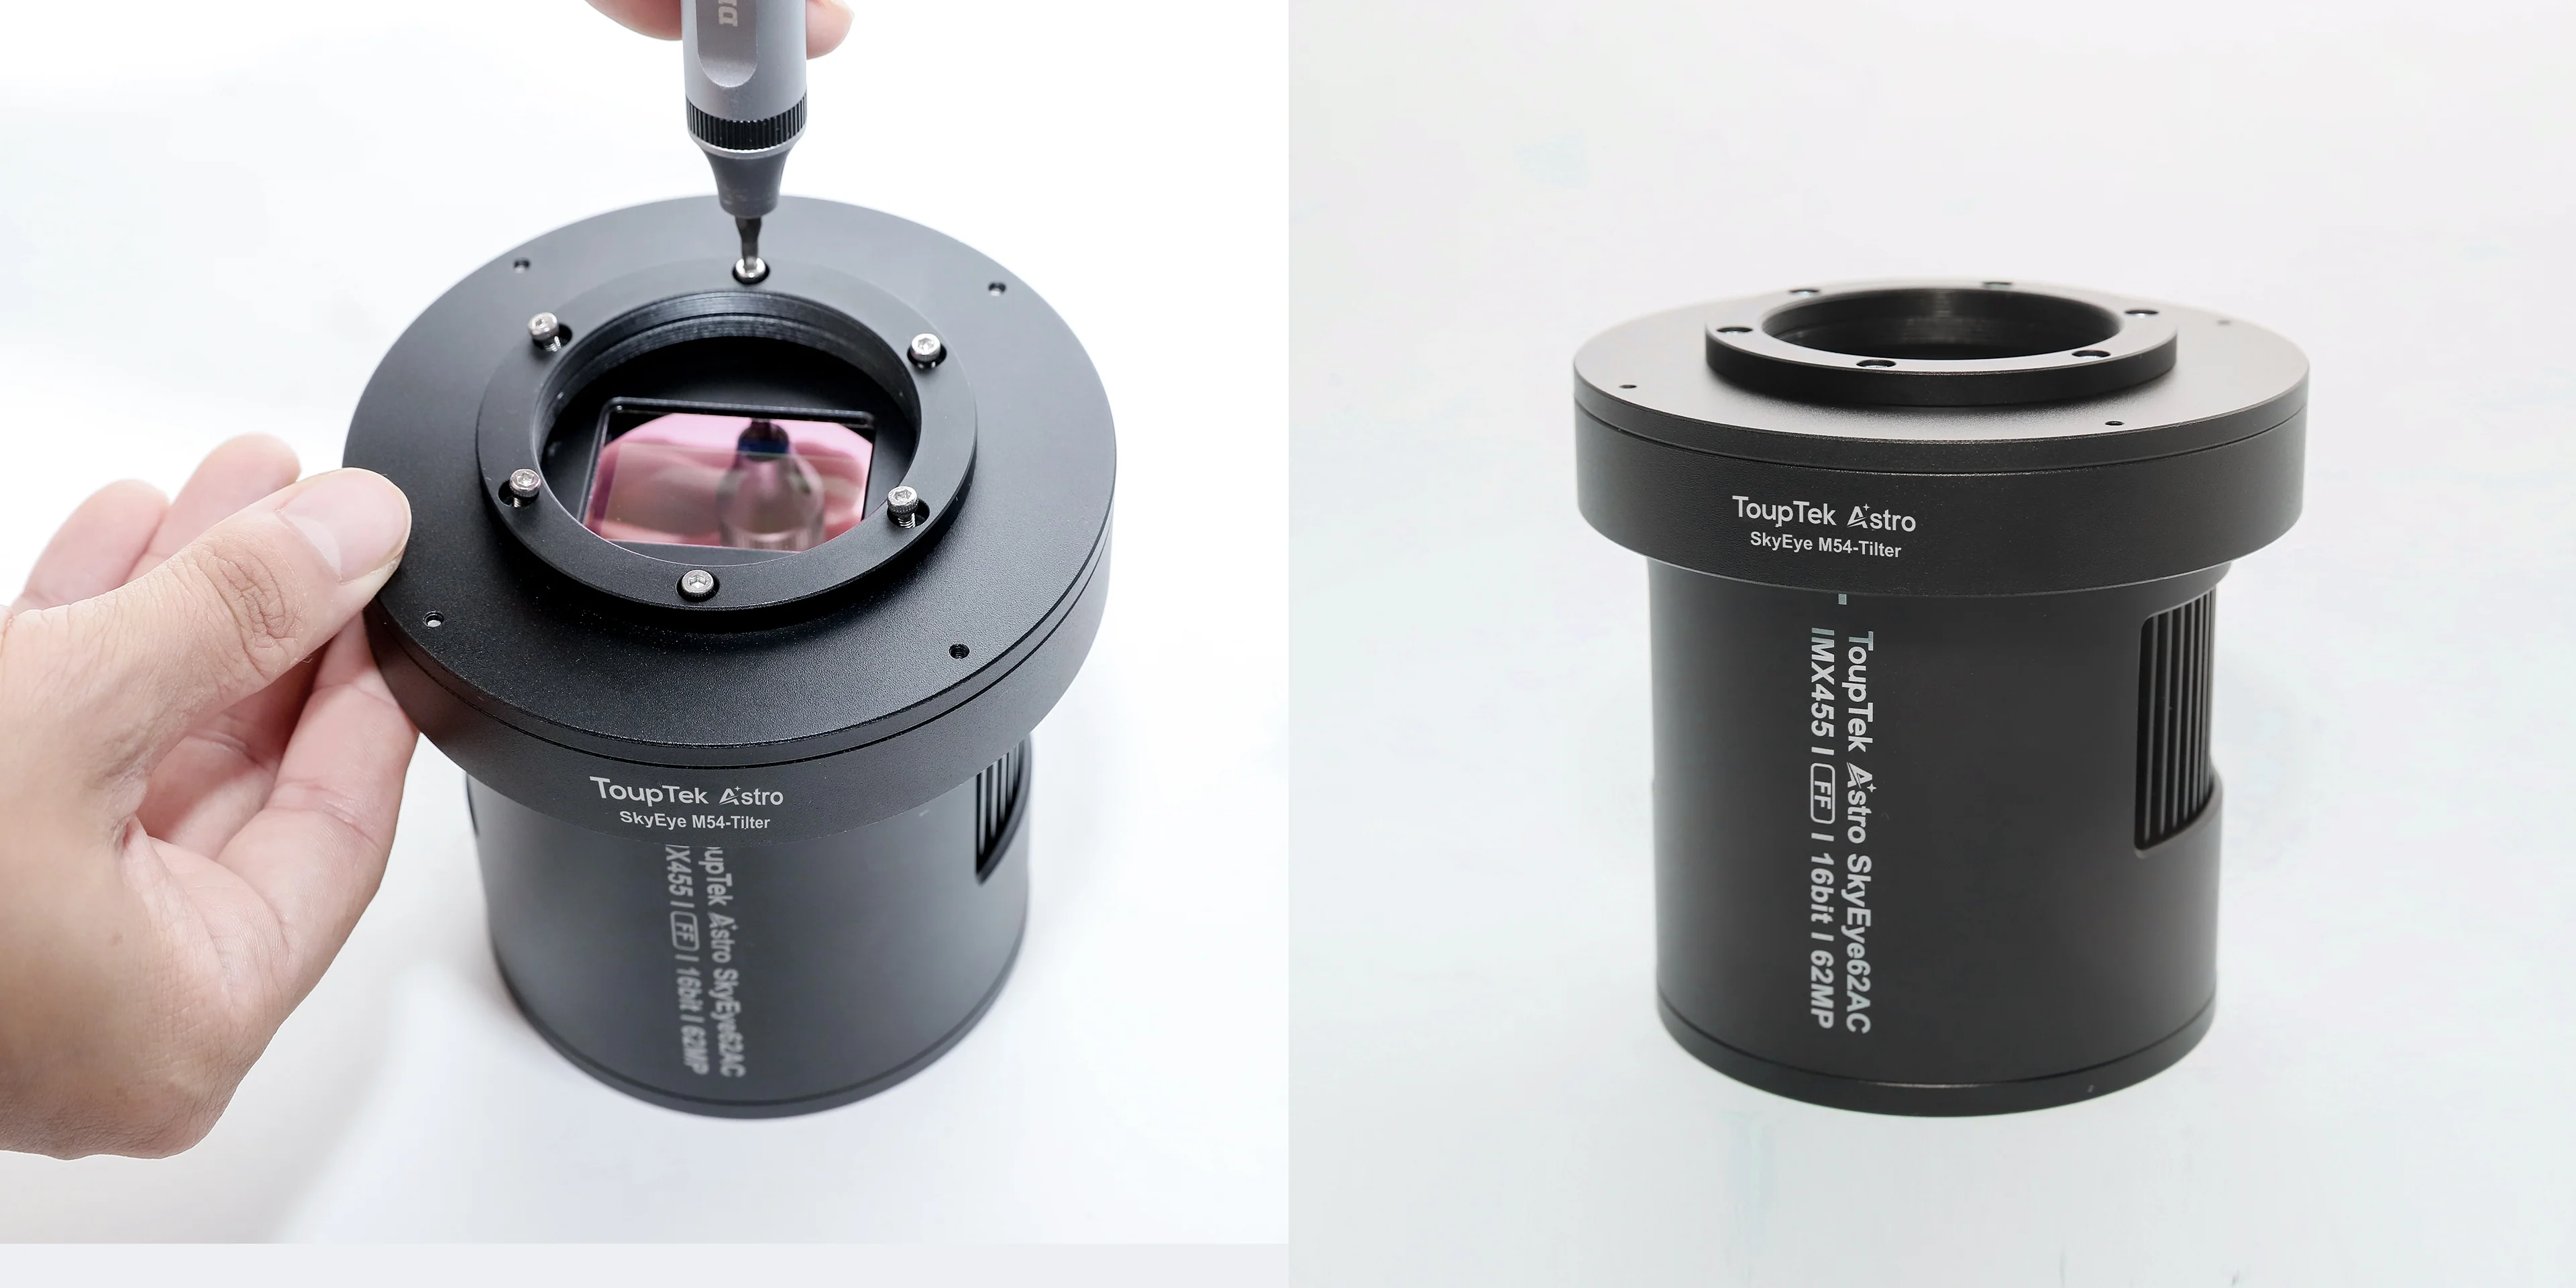
3.Assemble the M54-Tilter and the SkyEye24AC camera. Align the M54-Tilter with the camera, ensuring the central "0" scale and camera guide lines match. Tighten the screws to secure the components, completing the assembly of the M54-Tilter and camera, ensuring everything is securely attached.
